Supplies
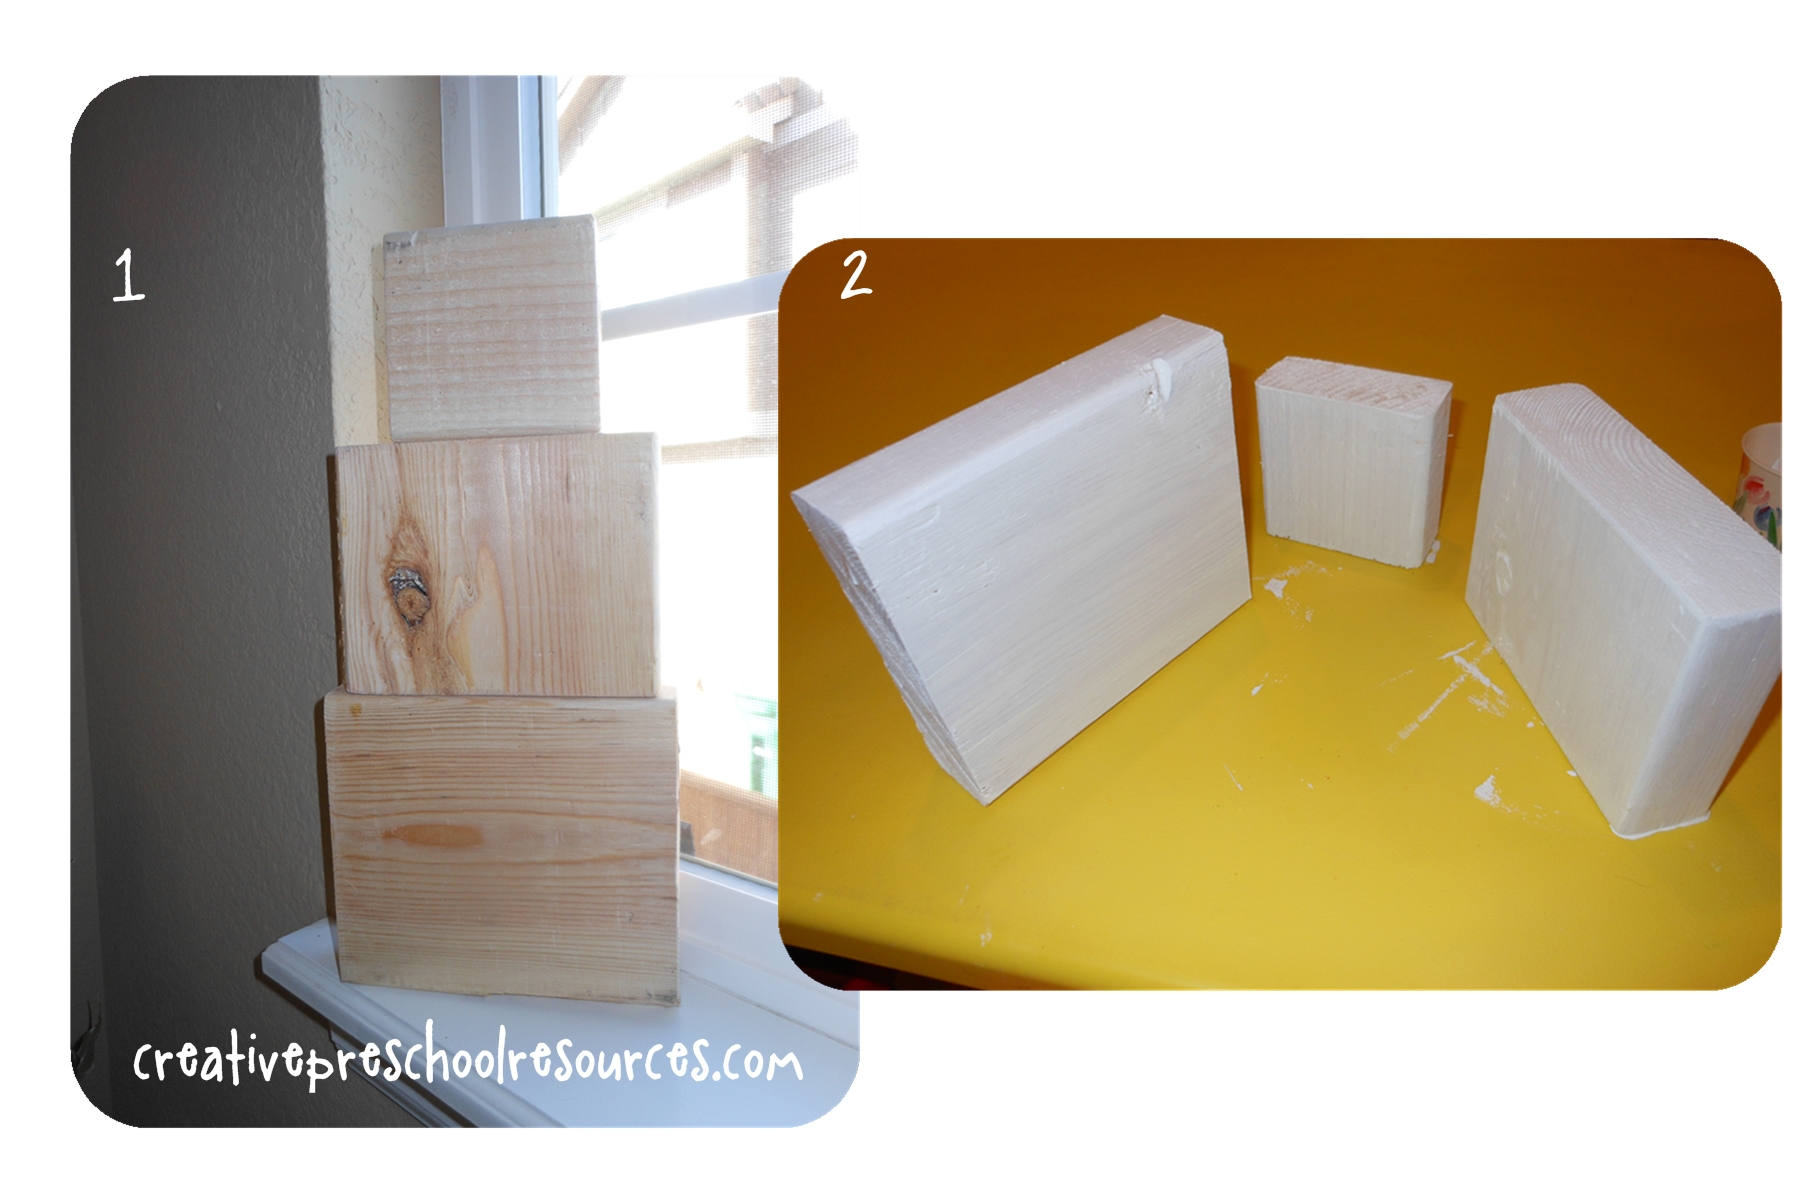
- Wood {I used 2x6 and 2x4. Cut them into approx. 6x6, 5x5 and 3.5x3.5}
- Sander or sandpaper
- White acrylic paint
- Mod Podge
- Clear sparkle glitter
- Paint pens {black and orange}
- Hot glue or wood glue
- Ribbon or fabric for scarf
Let's get crafty!

- Cut your wood blocks into your desired sizes. Stack them up and see how you like them, then sand the edges to smooth.
- Paint each side white and let dry.
- Draw on desired eyes and nose with paint pens.

- Spread mod podge over the dried white paint {avoiding the eyes and nose} and immediately sprinkle with clear sparkle glitter to give your snowman some true BLING! Allow that to dry
- Using hot glue or wood glue, glue the three pieces together, add your ribbon scarf around the neck and POOF, you've got yourself an adorable winter snowman to bring cheer to your house.

this is so cute
ReplyDeleteThanks! Glad you liked it. Super easy to make too! Happy crafting!
ReplyDelete