To begin the week we HAVE to learn the rainbow song and read the NOAH STORY {there's a Noah song we learn too but I'll post about Noah another day}.
Red, orange, yellow, green, blue, purple,
red, orange, yellow, green, blue, purple,
red, orange, yellow, green, blue, purple
makes the rainbow BRIGHT, BRIGHT, BRIGHT!
We made rainbow colored splatter paintings using droppers and all of the colors of the rainbow. Who doesn't love getting messy at preschool?

Our paint is ready to go! Check out those fun droppers from Discount School Supplies.

Each and every piece of art turned out so different. Aren't they pretty? I can't wait to hang them around the classroom!
We made simple rainbows using 1 inch squares of paper in each color.
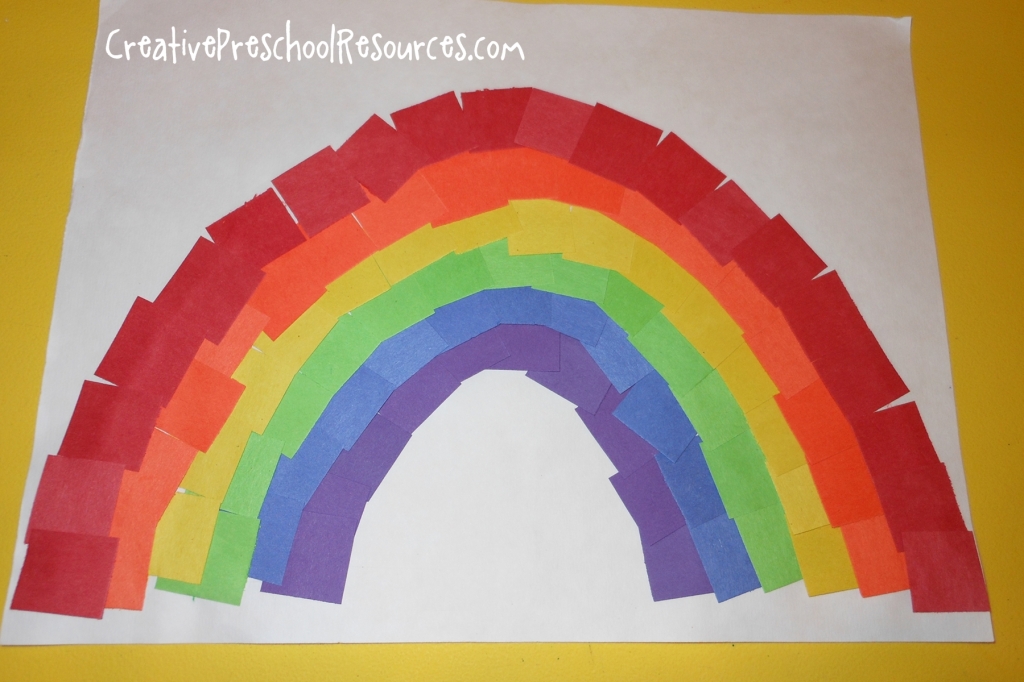 This is a great fine motor activity for little fingers!
  As the teacher I first draw each colored arch with a crayon and then it gets covered as the squares are placed down.
We use the left over rainbow squares to practice patterning. We've got to mix in a little math here or there.

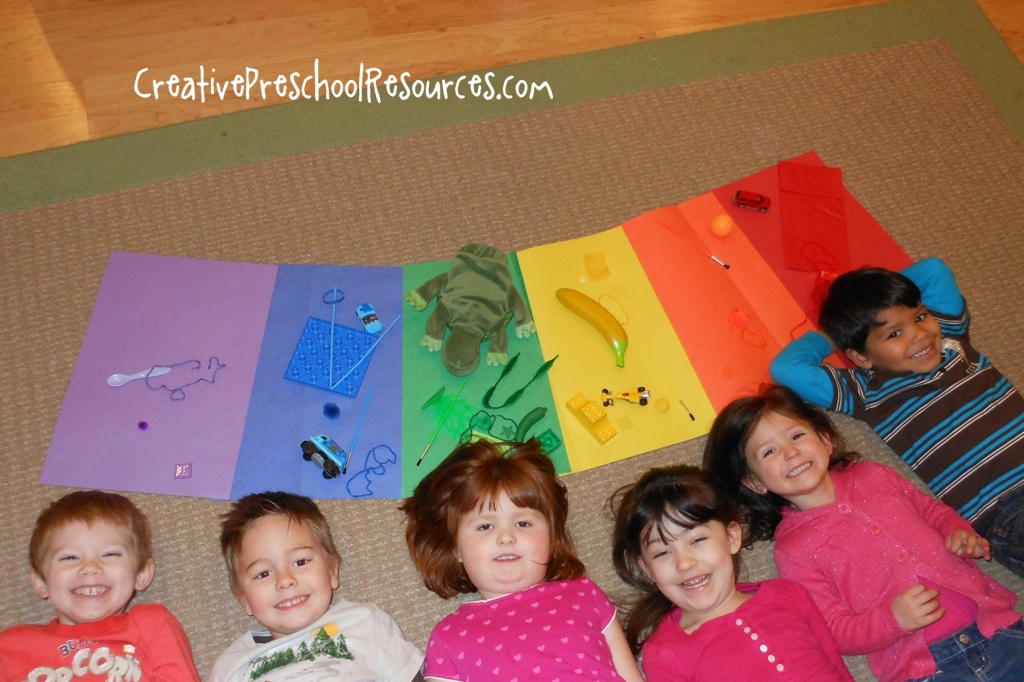
For additional math skills we sort objects by rainbow colors using TWEEZERS! I just love my kid tweezers! Simply make a HUGE rainbow out of construction paper.

Grab a bucket of colored items for the kids to sort.
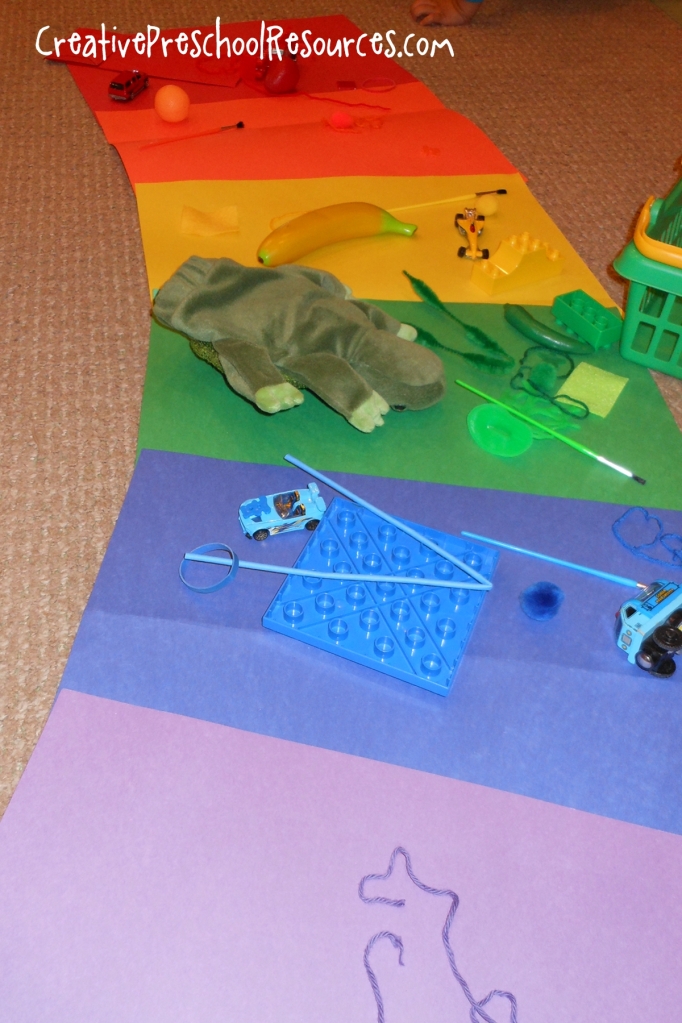
We used tweezers which adds entertainment value for me. :-) I cracked up watching them attempt to pick up a plastic strawberry using tweezers.
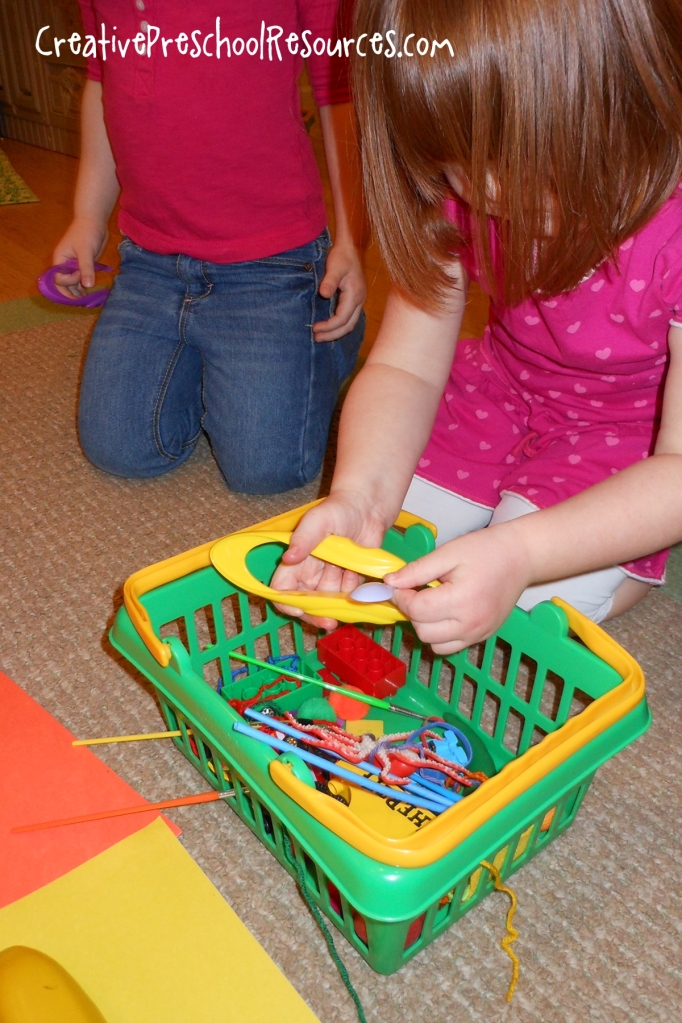
Here are a few of my rainbow sorting helpers!
We practiced writing our names (or the first letter of our names depending on the age) using all of the colors of the rainbow. Have the students sing the rainbow song to figure out what color comes next. First I write their name or first letter gently in pencil for them to trace.

We painted our hands to create this super cute rainbow art project. Paint the pinkie finger red, ring finger orange, middle finger yellow, pointer finger green, thumb violet and the entire palm white. Help the kids drag their finger tips in an arch (not placing the palm down) before stopping to make a hand print.

To study color mixing (Science) put a TON of caro syrup in 3 ziplock bags. To the first bag add red food coloring and seal WELL. To the second bag add yellow food coloring and to the third add blue food coloring. Seal all of the bags well! Then use a light box, a window or simply a white piece of paper to show how colors mix by overlapping portions of the bags. Don't actually mix the colors, just overlap the bags.

We also make these super cute rainbow/clouds.
 I used crepe paper for the rainbows, but of course the store was out of orange and had to use tissue paper for that one. We actually cut out 2 clouds and then stuffed the "trimmings" in the middle to give it a puffed up look.
 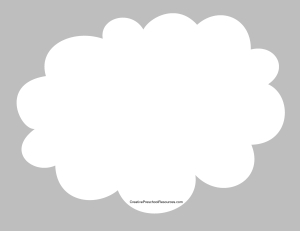 Download the cloud PDF
FREE PRINTABLES are for FOLLOWERS of Creative Preschool Resources. Please take a second to follow along via Facebook or e-mail. Then you can among the first to get more great ideas!
Also, if you love these ideas pin them on Pinterest and share them on Facebook. Thanks!
Rainbow themed ideas are NEVER ending! Enjoy them year round with your kiddos!
Linked up at:
Oopsey Daisy
Every Creative Endeavor


 All graphics are from
  *Please note: All free printables are only for readers of Creative Preschool Resources . If you enjoy this printable, please take a second to "follow" us to recieve email updates {top sidebar}. Thank you!
 Enjoy!


 It really does keep it's "PUFFED UP" shape! Give students markers, construction paper, pom pom balls, whatever you have around the house/classroom etc. to decorate their snowmen! Enjoy! Download the
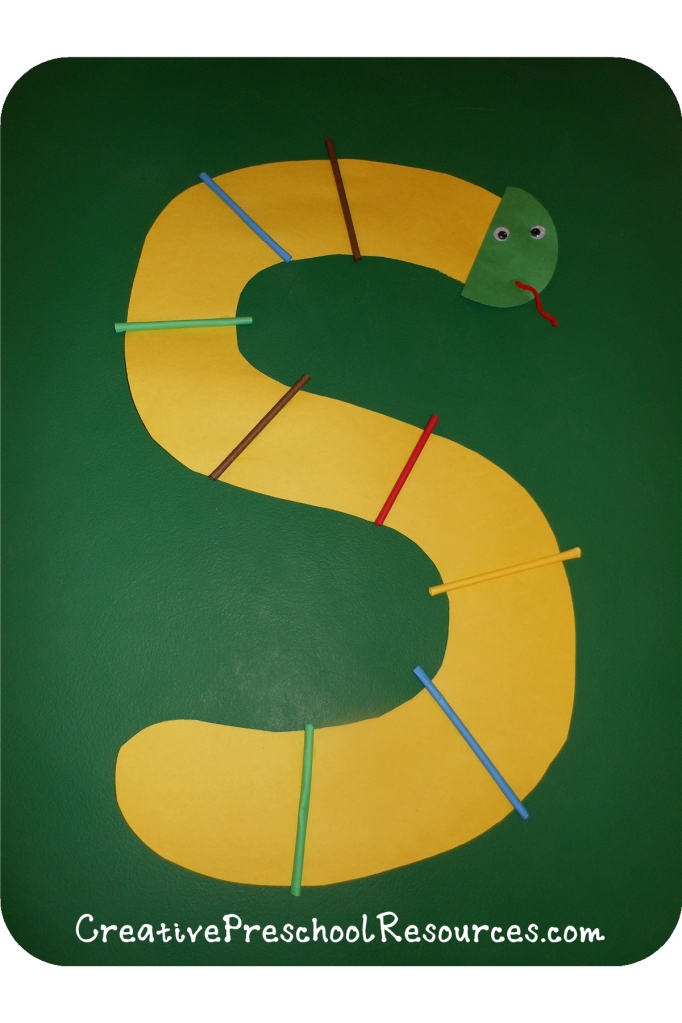 Made with construction paper, paper straws, yarn and google eyes. I just love the way his little tongue sticks out almost as if he's hissing at you!
 I love the way he adds winter cheer to the room.
 I went to Hobby Lobby, got 2 plain clipboards for around $2 each, used Mod Podge and scrapbook paper I already had and created these cuties. Originally I wanted to do more layering of paper and colors and then realized that it would make the writing surface bumpy and just decided to go "plain". Simply cut the paper to size, apply mod podge to clipboard and lay the paper down. Smooth out the bubble before it dries with a flat card (like a credit card) My kids LUV them and I love knowing where MY clipboards are when I need them. I plan on adding some cute ribbons to the top, but haven't had the time.


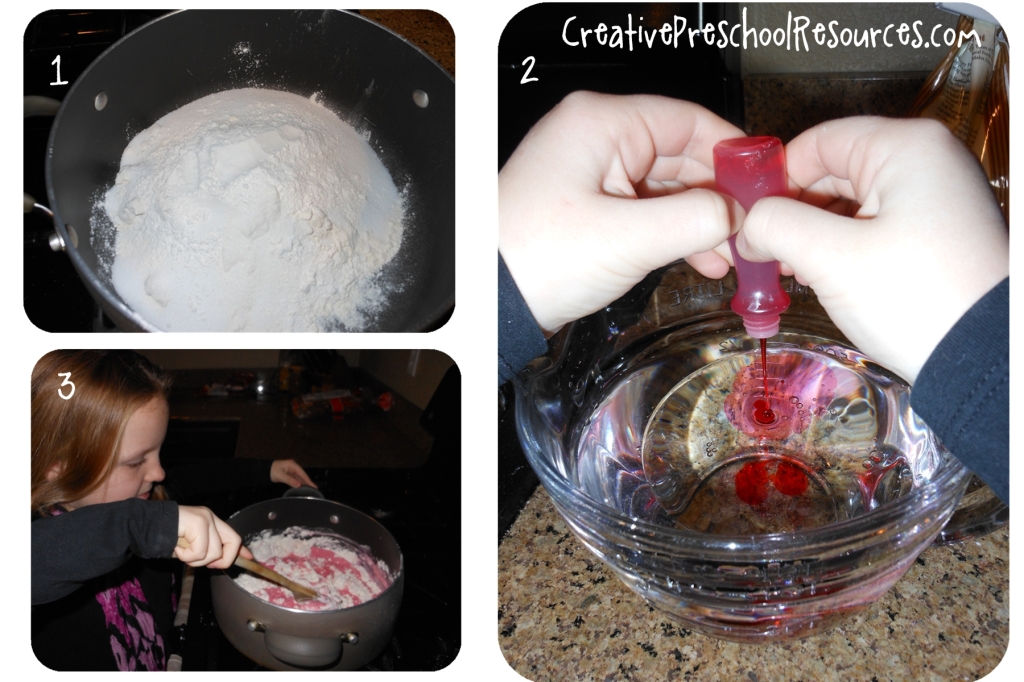 Just keep it in a ziplock and it'll last for months on end. Above number 1-3 shows my little lovely helping me measure the dry ingredients, then the wet and mixing them together over medium heat.